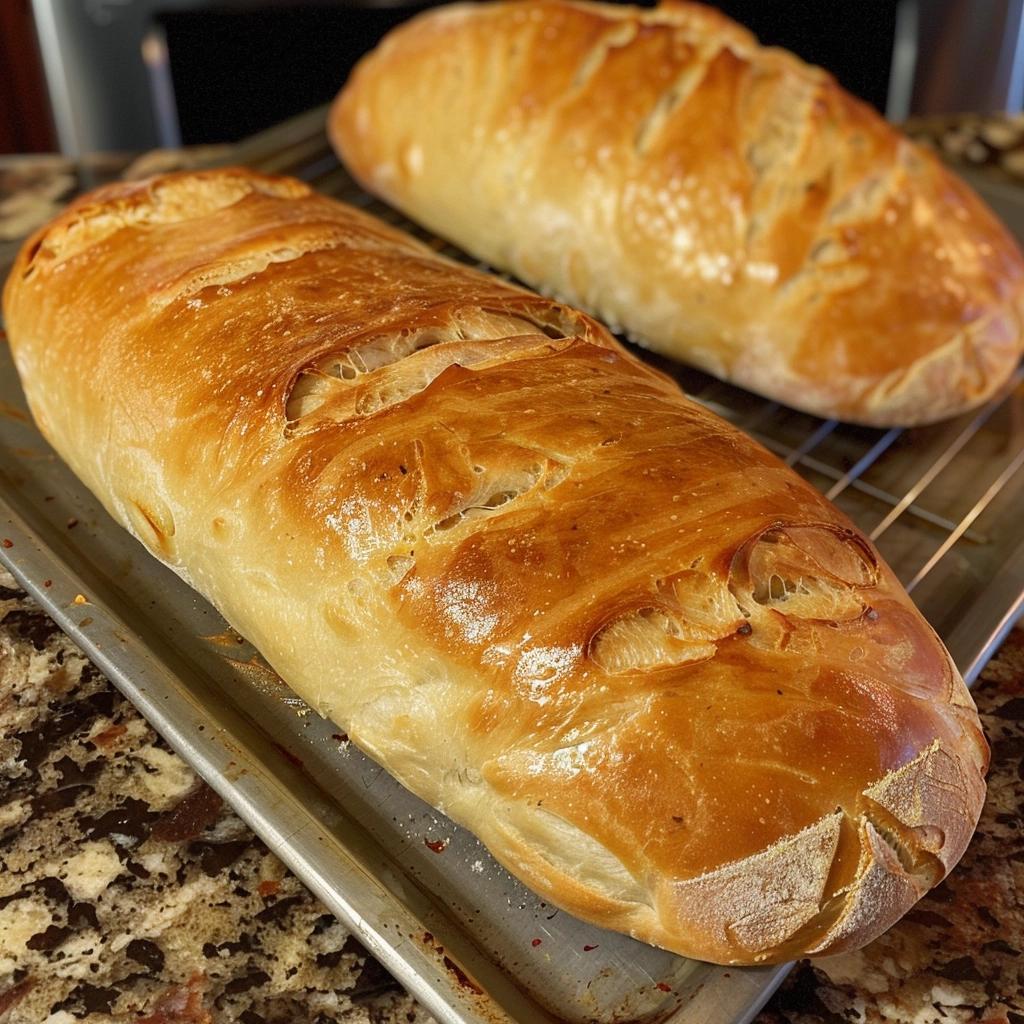
Baking crusty Italian bread is more than just a culinary task; it’s an experience that nourishes both the body and the soul. The process fills your home with the warm, inviting aroma of freshly baked bread, evoking a sense of tradition and home-cooked comfort. This particular bread, with its golden, crispy crust and soft, airy interior, is a staple in many households. Whether you’re using it for sandwiches, toasting it to perfection, or enjoying it plain with a touch of butter, this bread never fails to please.
My first memory of baking this bread goes back to my grandmother’s kitchen, where the smell of freshly baked bread would welcome us every Sunday morning. The anticipation of waiting for the bread to rise, the joy of kneading the dough, and the satisfaction of pulling out a perfectly baked loaf from the oven are moments that have stayed with me. These memories have made baking bread a cherished tradition in my family, one that I am excited to share with you.
INGREDIENTS:
4 cups bread flour: The high protein content in bread flour provides the structure and chewiness that is characteristic of good Italian bread.
1 ½ cups warm water: The warm water activates the yeast and helps to form the dough.
2 teaspoons salt: Salt enhances the flavor of the bread and controls the fermentation rate of the yeast.
2 teaspoons sugar: Sugar feeds the yeast, helping it to activate more quickly and contributing to the bread’s flavor and browning.
1 packet active dry yeast (2 ¼ teaspoons): Yeast is the leavening agent that makes the bread rise and gives it a light, airy texture.
2 tablespoons olive oil: Olive oil adds moisture and richness to the dough, contributing to the bread’s texture and flavor.
DIRECTIONS:
Activate the Yeast
In a large mixing bowl, combine 1 ½ cups of warm water (about 110°F or 43°C), 2 teaspoons of sugar, and 1 packet (2 ¼ teaspoons) of active dry yeast. Stir to dissolve the sugar and yeast.
Let this mixture sit for 5-10 minutes until it becomes foamy. This foam indicates that the yeast is active and ready to work its magic on the dough.
Mix the Dough
To the yeast mixture, add 4 cups of bread flour, 2 teaspoons of salt, and 2 tablespoons of olive oil.
Stir the ingredients together until a rough dough forms. The dough will be shaggy and sticky at this stage, which is perfectly normal.
Knead the Dough
Turn the dough out onto a floured surface. Begin kneading by folding the dough over itself and pressing down with the heel of your hand.
Continue kneading for about 10 minutes. The dough should become smooth and elastic. If the dough is too sticky, sprinkle a bit more flour; if it’s too dry, add a few drops of water.
First Rise
Lightly grease a large bowl with olive oil. Place the kneaded dough in the bowl, turning it once to coat the top with oil.
Cover the bowl with a damp cloth and let the dough rise in a warm, draft-free area for about 1 hour, or until it has doubled in size.
Shape and Second Rise
Punch down the dough to release any air bubbles. Turn it out onto a lightly floured surface.
Shape the dough into a loaf by folding it into a tight log. Place the shaped loaf on a parchment-lined baking sheet.
Cover the loaf with a damp cloth and let it rise for another 30-40 minutes, or until it has puffed up slightly.
Preheat the Oven
While the dough is rising, preheat your oven to 425°F (220°C). Place a baking stone or an inverted baking sheet on the middle rack of the oven. This will help create a hot surface that promotes a crispy crust.
Bake the Bread
Just before baking, use a sharp knife to make several slashes across the top of the loaf. This allows steam to escape and helps the bread expand evenly.
Carefully transfer the loaf to the preheated baking stone or inverted baking sheet.
Bake for 25-30 minutes, or until the bread is golden brown and sounds hollow when tapped on the bottom.
Cool the Bread
Remove the loaf from the oven and let it cool on a wire rack. Cooling is crucial as it allows the interior of the bread to set properly.
Wait until the bread is completely cool before slicing to prevent it from becoming gummy.
Variations and Substitutions
Whole Wheat Variation: Substitute half of the bread flour with whole wheat flour for a heartier, more nutritious loaf. Whole wheat flour adds a nutty flavor and a slightly denser texture.
Herbs and Seeds: For added flavor, mix in dried herbs such as rosemary, thyme, or oregano, or seeds like sesame, sunflower, or flax. These additions can be kneaded into the dough during the mixing stage.
Gluten-Free: To accommodate dietary restrictions, use a gluten-free bread flour blend. Be aware that gluten-free dough may require different handling and might not rise as much as regular dough.
Conclusion
This crusty Italian bread recipe is special because it balances simplicity with versatility, producing a delicious, bakery-quality loaf with minimal ingredients. The straightforward method ensures that even novice bakers can achieve excellent results. The recipe is highly adaptable, allowing for a range of variations to suit different tastes and dietary needs.
Baking bread from scratch is not just about the end product but also the process. It’s therapeutic and immensely satisfying, offering a sense of accomplishment as you watch the dough transform and eventually pull a beautiful, golden loaf from the oven. This bread, with its inviting aroma and perfect texture, is a delight to make and even more delightful to eat. Whether you’re sharing it with family and friends or savoring a slice on your own, this crusty Italian bread is sure to become a favorite in your baking repertoire.
